Epoxy Live Edge Bar Top: Complete DIY Guide & Best Methods
Creating an epoxy live edge bar top combines natural wood beauty with modern durability, transforming raw lumber into stunning functional art. This comprehensive guide covers everything from selecting the best epoxy resin to achieving professional-grade finishes that can last decades in high-traffic bar environments.
What is an Epoxy Live Edge Bar Top
An epoxy live edge bar top preserves the natural, unprocessed edge of wood while encasing it in crystal-clear epoxy resin for protection and aesthetics. The live edge maintains the tree’s original contour, including bark texture and natural curves, creating a unique piece where no two tops are identical. This design style has gained tremendous popularity in 2024, with over 65% of custom bar installations in the United States incorporating live edge elements.
The epoxy resin serves multiple purposes beyond aesthetics, providing waterproofing, stain resistance, and durability essential for bar environments. Unlike traditional bar tops that may warp, crack, or stain over time, epoxy-sealed live edge surfaces can withstand decades of heavy use while maintaining their original appearance and structural integrity.
Best Epoxy Types for Live Edge Bar Tops
Selecting the right epoxy for live edge bar tops determines both the visual appeal and long-term durability of your project. Professional-grade table top epoxies differ significantly from general-purpose resins in hardness, UV resistance, and heat tolerance.
Deep Pour Epoxy Systems
Deep pour epoxy allows single pours up to 2-4 inches thick, essential for live edge projects with significant gaps or voids. These systems cure slowly over 24-48 hours, generating minimal heat that prevents cracking and ensures crystal-clear results. Popular brands like EpoxyPlus and UltraClear offer deep pour formulations specifically designed for furniture applications with superior scratch resistance.
High-Performance Table Top Resins
Premium table top epoxy resins provide enhanced durability for bar environments, featuring improved chemical resistance against alcohol, citrus, and cleaning products. These formulations typically offer 80-90 Shore D hardness ratings, significantly harder than standard hobby epoxies, ensuring your live edge bar top withstands commercial-level use without scratching or dulling.
Essential Tools and Materials
Professional live edge bar top construction requires specific tools and materials that ensure consistent, high-quality results. Having the complete toolkit assembled before beginning prevents delays and maintains proper working conditions throughout the multi-day process.
Wood Preparation Equipment
Proper wood preparation demands a random orbital sander with grits from 80 to 220, ensuring smooth surfaces for optimal epoxy adhesion. A moisture meter is crucial for verifying wood moisture content below 10%, preventing future expansion that could crack the epoxy coating. Dust collection systems or high-quality shop vacuums remove all debris that could create imperfections in the final finish.
Epoxy Application Tools
Professional epoxy application requires precision mixing tools including digital scales accurate to 0.1 grams, ensuring exact resin-to-hardener ratios. Heat guns or propane torches remove air bubbles, while notched spreaders create uniform thickness. Protective equipment including respirators, nitrile gloves, and adequate ventilation systems are mandatory for safe application in enclosed spaces.
Step-by-Step Live Edge Bar Top Construction
Creating a professional live edge epoxy bar top follows a systematic process that requires patience and attention to detail. Each step builds upon the previous, and rushing any phase can compromise the entire project’s quality and longevity.
Wood Selection and Preparation
Choose kiln-dried hardwoods with moisture content below 10% for your live edge bar top to prevent future movement and cracking. Popular species include walnut, maple, cherry, and oak, each offering unique grain patterns and color characteristics. Sand progressively from 80 to 220 grit, removing all scratches and ensuring uniform surface texture for optimal epoxy bonding. Clean thoroughly with tack cloth and compressed air to eliminate all dust particles.
Creating the Containment System
Build a leak-proof containment system using melamine-coated particleboard or HDPE plastic sheeting to prevent epoxy from adhering to work surfaces. Apply mold release wax to all containment surfaces, creating easy removal after curing. Seal all joints with clear silicone caulk, ensuring no gaps that could allow resin to escape during the pour process.
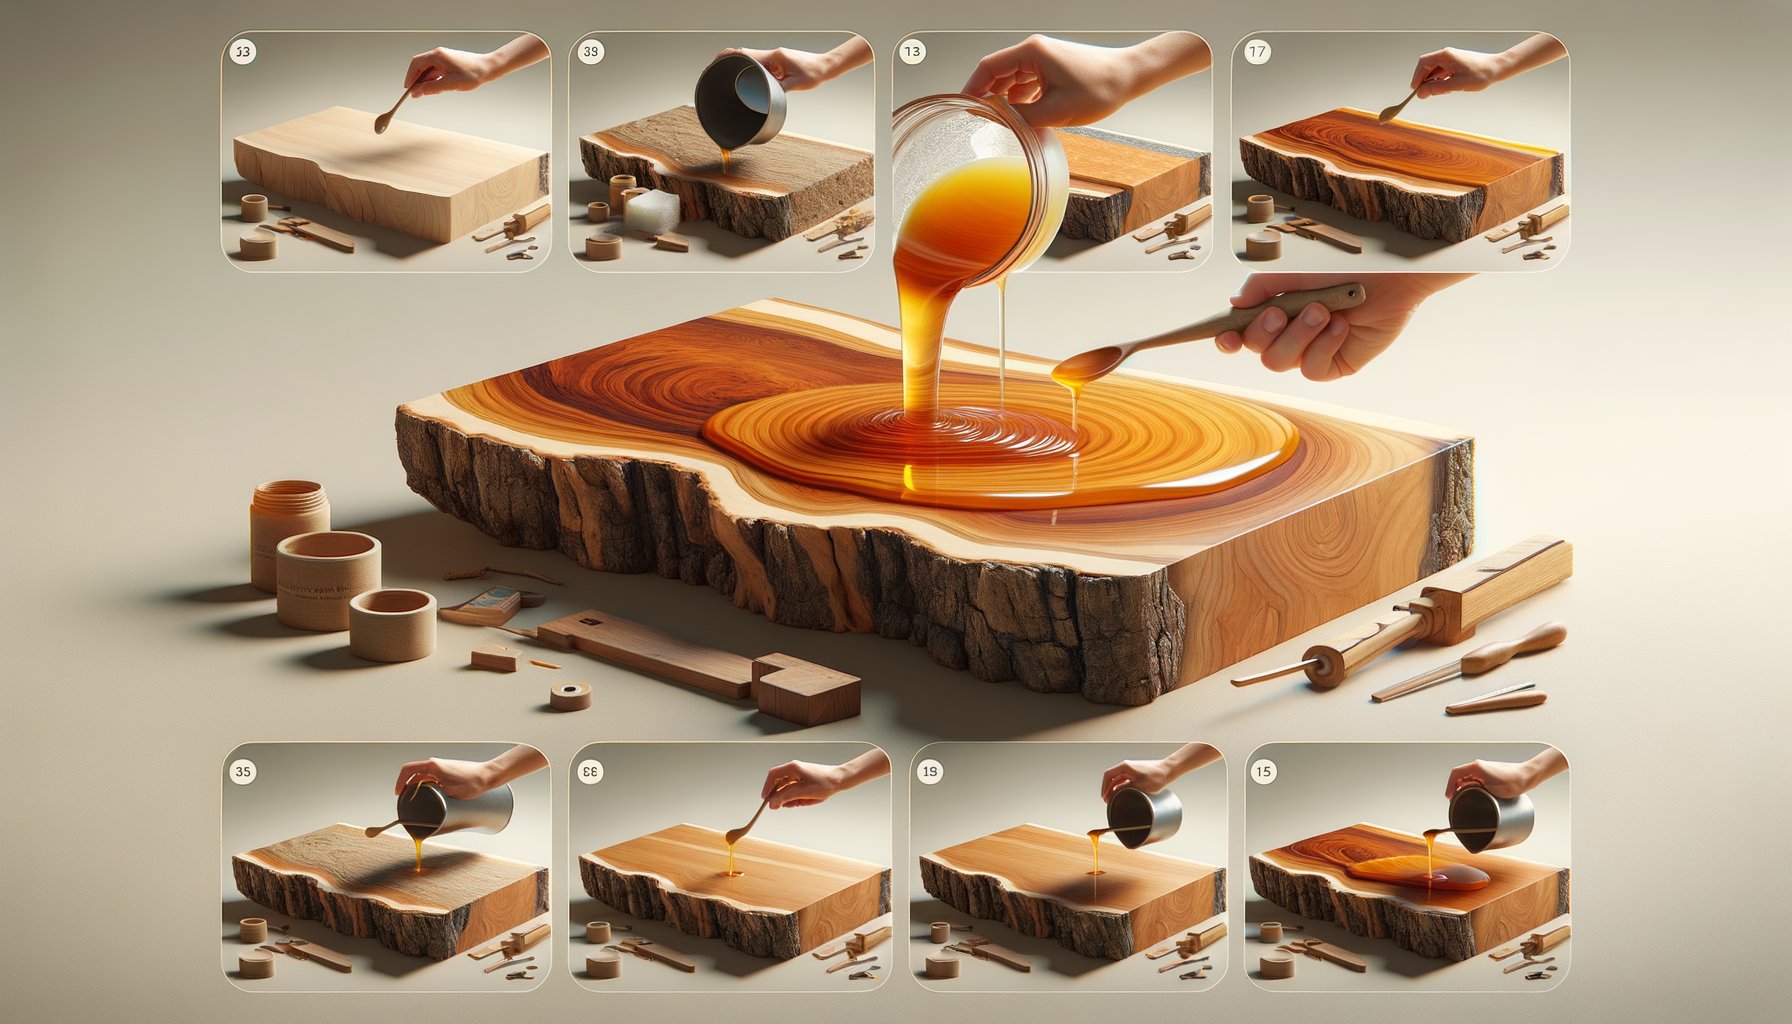
Epoxy Mixing and Pouring Technique
Mix epoxy resin components according to manufacturer specifications, typically 2:1 or 3:1 ratios by volume or weight. Stir slowly for 3-5 minutes to minimize air incorporation, then pour steadily from a height of 6-8 inches to help release trapped air. Work systematically across the surface, maintaining consistent pour rates to achieve uniform thickness throughout the bar top.
Sealing and Finishing Techniques
Proper sealing ensures your live edge bar top maintains its appearance and functionality for decades. The finishing process requires multiple steps, each contributing to the final durability and aesthetic appeal of your project.
Pre-Seal Wood Conditioning
Apply thin seal coats of epoxy to highly porous wood areas before the main pour, preventing excessive resin absorption that creates uneven surfaces. This pre-sealing process is particularly important for live edge sections where end grain exposure can absorb significant amounts of epoxy. Allow 4-6 hours curing time between seal coats and final pours.
Final Surface Finishing
After full cure, sand the epoxy surface progressively from 220 to 2000 grit for a glass-like finish. Use wet sanding techniques with 400 grit and higher to prevent heat buildup that could damage the epoxy. Polish with compound and buffing wheels to achieve mirror-like clarity that showcases the natural wood grain beneath the protective epoxy layer.
Common Problems and Solutions
Even experienced craftspeople encounter challenges when creating epoxy live edge bar tops. Understanding common issues and their solutions prevents project failures and ensures professional results every time.
Bubble Formation and Removal
Air bubbles in epoxy resin result from rapid mixing, temperature variations, or outgassing from wood. Remove surface bubbles within 30 minutes of pouring using a propane torch held 6-8 inches away, moving quickly to avoid overheating. For persistent bubbles, a vacuum chamber during initial mixing eliminates most air incorporation before pouring begins.
Uneven Thickness and Flow Issues
Achieving consistent thickness across your live edge bar top requires proper leveling and controlled pour rates. Use adjustable leveling feet on your work surface and pour in overlapping patterns to maintain uniform depth. Temperature control between 70-75°F ensures optimal flow characteristics and prevents premature thickening that creates uneven surfaces.
Maintenance and Care Guidelines
Proper maintenance extends the life and beauty of your epoxy live edge bar top for decades. Understanding appropriate cleaning methods and protective measures prevents damage and maintains the professional appearance you invested time and resources to create.
Clean regularly with mild soap and water, avoiding abrasive cleaners or scrubbing pads that could scratch the epoxy surface. Use coasters for hot items above 150°F and cutting boards for food preparation to prevent heat damage and knife marks. Periodic repolishing with automotive compounds maintains the high-gloss finish that makes live edge bar tops so visually striking.
Related video about epoxy live edge bar top
This video complements the article information with a practical visual demonstration.
Most asked questions about epoxy live edge bar top
What is the best epoxy for live edge bar tops?
The best epoxy for live edge bar tops is a high-performance table top resin with 80-90 Shore D hardness rating. Deep pour epoxy systems like UltraClear or EpoxyPlus work excellently, offering superior chemical resistance against alcohol and cleaning products while providing crystal-clear finishes that showcase the natural wood grain.
How to make a live edge epoxy bar top?
Making a live edge epoxy bar top involves selecting kiln-dried hardwood, sanding to 220 grit, creating a leak-proof containment system, applying seal coats to porous areas, mixing epoxy according to specifications, pouring steadily from 6-8 inches height, removing bubbles with heat, and allowing 24-48 hours cure time before finishing.
Can you epoxy a bar top?
Yes, you can epoxy a bar top successfully using proper techniques and materials. Table top epoxy resins provide excellent durability for bar environments, resisting stains, heat, and scratches. The key is proper surface preparation, correct mixing ratios, controlled application temperatures, and allowing full cure time before use.
How to seal live edge bar top?
Seal live edge bar tops by applying thin epoxy seal coats to porous wood areas first, then pouring the main epoxy layer uniformly. After curing, sand progressively to 2000 grit and polish to achieve a protective, glass-like finish that prevents moisture penetration and maintains the natural wood appearance.
How long does epoxy bar top take to cure?
Epoxy bar tops typically cure in 24-48 hours for initial hardening, but full chemical cure requires 7-14 days depending on temperature and humidity. Deep pour epoxies cure slower to prevent heat buildup and cracking. Maintain 70-75°F temperature during curing for optimal results and crystal-clear finish.
What thickness should epoxy be on live edge bar top?
Epoxy thickness on live edge bar tops should be 1/8 to 1/4 inch minimum for adequate protection and durability. Thicker applications up to 2 inches are possible with deep pour epoxy systems. The thickness depends on wood irregularities and desired aesthetic, with thicker pours providing more dramatic depth and visual impact.
| Key Aspect | Important Details | Benefit |
|---|---|---|
| Epoxy Type Selection | High-performance table top resin with 80-90 Shore D hardness | Superior durability and chemical resistance for bar environments |
| Wood Preparation | Kiln-dried hardwood under 10% moisture, sanded to 220 grit | Prevents cracking and ensures optimal epoxy adhesion |
| Application Thickness | 1/8 to 1/4 inch minimum, up to 2 inches with deep pour systems | Provides adequate protection and dramatic visual depth |
| Curing Conditions | 70-75°F temperature, 24-48 hours initial cure, 7-14 days full cure | Ensures crystal-clear finish without bubbles or imperfections |
| Surface Finishing | Progressive sanding 220-2000 grit, polishing compound application | Achieves glass-like clarity showcasing natural wood grain |