Wood Epoxy Table Top Guide: DIY Steps, Costs & Best Kits 2025
A wood epoxy table top combines natural wood beauty with durable resin protection, creating stunning furniture pieces that last decades. This comprehensive guide covers everything from DIY techniques to professional finishing, helping you create the perfect epoxy table for your home in 2025.
Understanding Wood Epoxy Table Tops
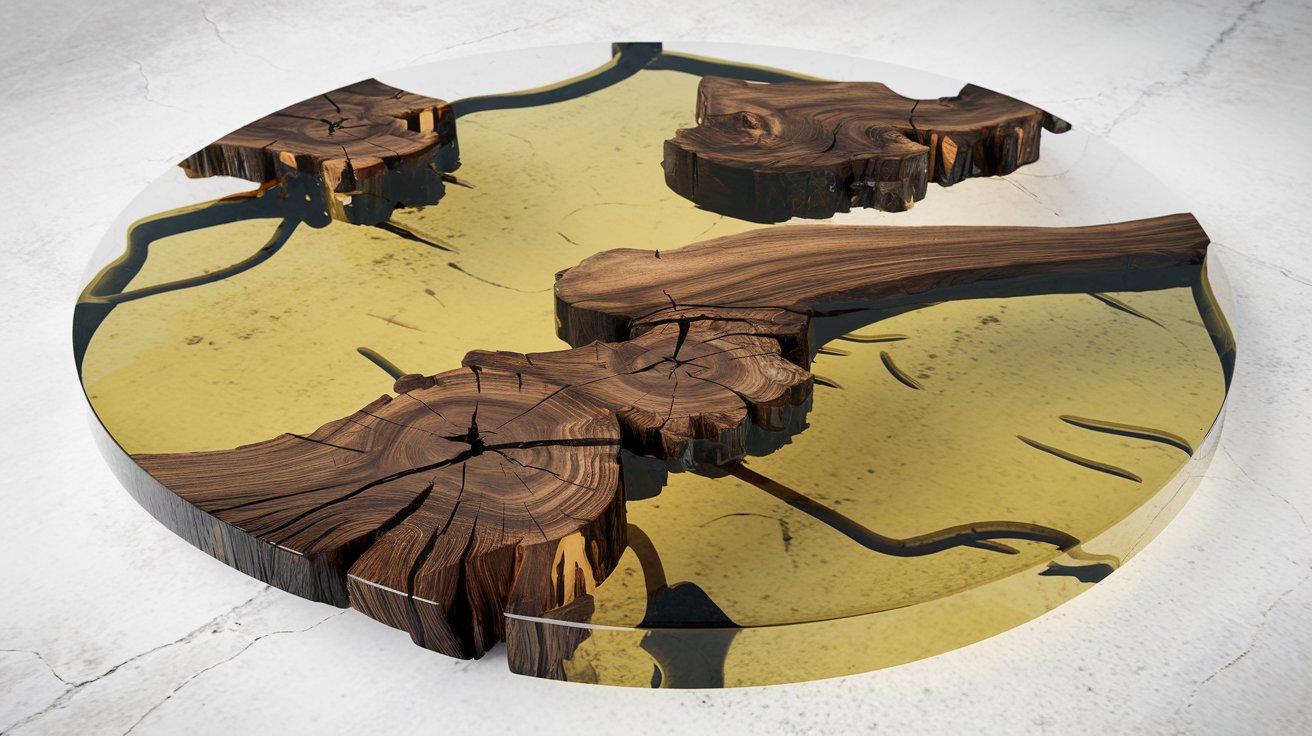
Wood epoxy table tops feature natural wood slabs encased in clear epoxy resin, creating a smooth, durable surface that highlights the wood’s grain patterns. The epoxy fills voids, cracks, and imperfections while providing protection against moisture, heat, and daily wear. This combination results in furniture pieces that maintain their beauty for 20-30 years with proper care.
The popularity of epoxy resin table designs has surged 340% since 2022, with live-edge maple and walnut being the most requested wood species in the United States. Professional makers report that epoxy table tops can increase furniture value by 60-80% compared to traditional finishes, making them an excellent investment for both DIY enthusiasts and professional woodworkers.
Types of Wood Epoxy Tables
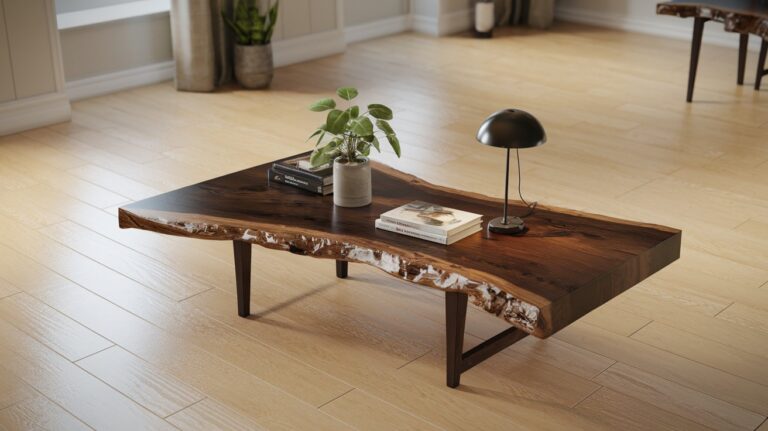
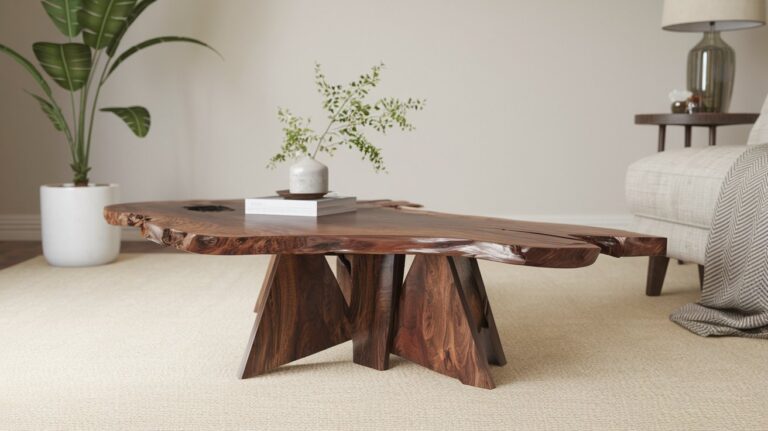
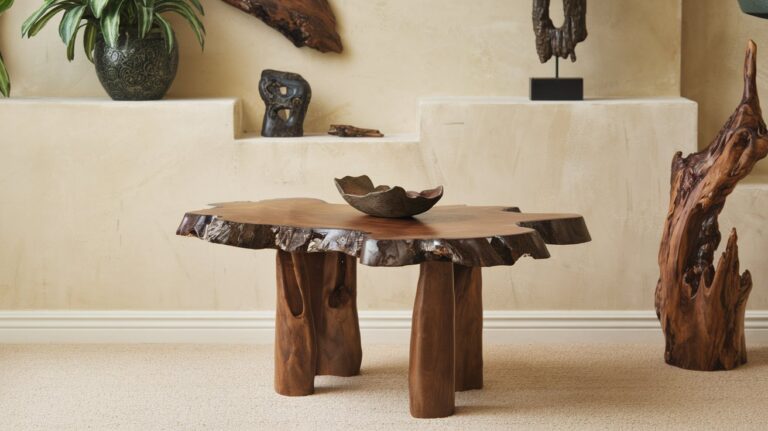
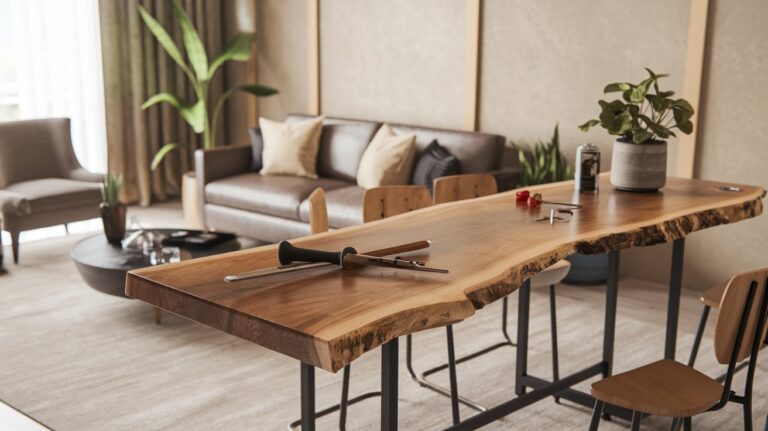
Epoxy coffee table designs typically use 1-2 inch thick slabs with river-style epoxy inlays, while dining tables require 2-3 inch slabs for structural integrity. Live-edge designs preserve the natural bark edge, creating organic shapes that complement modern and rustic interiors. Geometric designs incorporate colored epoxy in specific patterns, appealing to contemporary aesthetics.
Popular Wood Species for Epoxy Tables
Walnut remains the premium choice for wood epoxy table top projects, commanding $8-15 per board foot in 2025. Maple offers excellent grain patterns at $4-8 per board foot, while oak provides traditional appeal at $3-6 per board foot. Exotic species like zebra wood and purple heart create striking contrasts with clear epoxy, though they require specialized handling techniques.
Wood Epoxy Table Top DIY Process
Creating a wood epoxy table top diy project requires careful planning and execution across multiple stages. The process typically spans 7-10 days, accounting for curing times and environmental conditions. Success depends on proper wood preparation, accurate epoxy mixing, and controlled environmental factors during application and curing.
Professional-grade results require temperatures between 70-75°F with humidity below 50% throughout the process. Many DIY enthusiasts underestimate the importance of epoxy prep work, which accounts for 60% of the project time but determines 90% of the final quality. Rushing through preparation stages often results in bubbles, uneven surfaces, or adhesion failures.
Essential Tools and Materials
A complete wood epoxy table top kit includes table-top grade epoxy resin, hardener, mixing cups, stir sticks, and safety equipment. Professional sanders (80, 120, 220, and 320 grit), a router for edge work, and clamps for assembly are essential tools. Heat guns for bubble removal and infrared thermometers for temperature monitoring ensure optimal results.
Step-by-Step Application Process
Begin with thorough sanding using 80-grit paper, progressing to 220-grit for smooth surfaces. Seal the wood with thin epoxy coats to prevent bubble formation, then build up layers gradually. Mix epoxy according to manufacturer ratios – typically 2:1 or 3:1 resin to hardener. Pour in thin layers (1/8 inch maximum) to prevent excessive heat buildup and ensure proper curing.
Epoxy Coverage and Quantity Calculations
Understanding how much will 1 gallon of table top epoxy cover is crucial for project budgeting and planning. One gallon of mixed epoxy typically covers 12-16 square feet at 1/8 inch thickness, though coverage varies based on wood porosity and surface irregularities. Dense woods like maple require less epoxy penetration than open-grain species like oak or ash.
For accurate calculations, measure your table surface area and multiply by desired thickness. Add 15-20% extra for waste, mixing cups, and potential touch-ups. A standard 48-inch dining table requires 0.75-1 gallon of mixed epoxy for proper coverage, while smaller epoxy coffee table projects need 0.25-0.5 gallons depending on design complexity.
Wood Epoxy Table Top Costs in 2025
The wood epoxy table top cost varies significantly based on wood species, epoxy quality, and finishing requirements. DIY projects range from $150-800 for materials, while professional custom tables cost $1,500-8,000 depending on size and complexity. Premium hardwoods and specialized epoxy formulations can increase costs by 50-100%.
Breaking down costs: quality table-top epoxy runs $45-85 per gallon, hardwood slabs cost $200-1,200 depending on species and size, and finishing supplies add $50-150. Labor for professional installation ranges $75-150 per hour, with complete projects requiring 15-25 hours. Wood epoxy table top for sale from established makers typically includes 5-10 year warranties, justifying higher purchase prices.
Budget vs Premium Options
Budget epoxy resin table kit options start at $89 and work well for smaller projects under 4 square feet. Mid-range kits ($150-300) offer better clarity and UV resistance for furniture-quality results. Premium systems ($400-800) provide superior durability, extended working times, and professional-grade finish quality suitable for heirloom pieces.
Hidden Costs and Considerations
Factor in electricity costs for extended sanding and temperature control – typically $25-50 per project. Disposal fees for hazardous waste can add $15-30, while replacement consumables (sandpaper, brushes, mixing supplies) cost $40-80. Many first-time builders underestimate these additional expenses, which can increase total project costs by 20-30%.
Epoxy Table Top Durability and Longevity
Quality concerns about how long will epoxy last in a table are common among prospective buyers and builders. Professional-grade table-top epoxy maintains its clarity and structural integrity for 25-30 years under normal use conditions. UV-stabilized formulations resist yellowing for 15-20 years, while non-UV grades may show color changes within 3-5 years when exposed to direct sunlight.
Temperature cycling, humidity changes, and mechanical stress affect longevity more than age. Tables in climate-controlled environments last significantly longer than those in garages or outdoor spaces. Proper maintenance, including regular cleaning with appropriate products and avoiding extreme temperatures, extends service life by 40-60%. Professional refinishing can restore worn surfaces, effectively resetting the durability clock.
Disadvantages of Epoxy Table Tops
Understanding what are the disadvantages of epoxy table top helps set realistic expectations for buyers and builders. Heat sensitivity remains the primary concern – temperatures above 120°F can cause permanent clouding or surface damage. Heavy impacts can create chips or cracks that require professional repair, and UV exposure gradually yellows non-stabilized epoxy formulations.
Maintenance challenges include difficulty removing certain stains, susceptibility to scratches from abrasive materials, and the need for specialized repair techniques. Cost considerations include higher initial investment compared to traditional finishes and expensive professional refinishing when needed. Additionally, epoxy prep mistakes are often irreversible, requiring complete refinishing to correct defects.
Common Problems and Solutions
Bubble formation affects 70% of first-time builders but can be prevented through proper mixing techniques and environmental control. Surface cloudiness typically results from moisture contamination or incorrect mixing ratios. Adhesion failures occur when wood isn’t properly sealed, allowing moisture to penetrate and lift the epoxy layer over time.
Long-term Maintenance Requirements
Annual cleaning with pH-neutral cleaners maintains surface clarity and prevents buildup of contaminants. Avoid ammonia-based products, which can cause chemical reactions with the epoxy. Professional inspection every 5-7 years identifies potential issues before they become expensive repairs. Minor scratches can be polished out, while deeper damage requires professional attention.
Best Epoxy Resin Table Kits for 2025
Selecting the right epoxy resin table kit determines project success and long-term satisfaction. Top-rated kits include comprehensive instructions, quality epoxy systems, and adequate safety equipment. Professional-grade options offer extended working times, superior clarity, and enhanced UV resistance compared to general-purpose epoxy products.
Leading manufacturers like EpoxyPlus, TotalBoat, and Crystal Clear Bar Top provide specialized table-top formulations with proven track records. These wood epoxy table top kit options include detailed mixing ratios, temperature guidelines, and troubleshooting support. Premium kits cost 40-60% more but reduce failure rates by 80% compared to generic alternatives.
Professional vs DIY Installation
Deciding between professional installation and how to make epoxy table yourself depends on skill level, available time, and quality expectations. Professional installation guarantees results and includes warranties, but costs $2,000-5,000 for typical dining table projects. DIY approaches save 60-70% on labor costs but require significant time investment and carry higher risk of mistakes.
Consider professional installation for tables exceeding 6 feet in length, complex designs with multiple wood species, or when working with expensive hardwoods. DIY projects work well for smaller pieces, simple designs, and when learning opportunities outweigh potential material losses. Many builders start with practice pieces before attempting large, expensive projects.
Related video about wood epoxy table top
This video complements the article information with a practical visual demonstration.
Frequently Asked Questions
What are the disadvantages of epoxy table tops?
Main disadvantages include heat sensitivity above 120°F, susceptibility to UV yellowing without stabilizers, difficulty repairing chips or deep scratches, and higher initial costs. They also require specialized cleaning products and professional refinishing when damaged, making long-term maintenance more expensive than traditional finishes.
Can you do epoxy on a wood table?
Yes, you can apply epoxy to existing wood tables with proper preparation. The wood must be thoroughly sanded, cleaned, and sealed before epoxy application. Existing finishes must be completely removed, and the wood should be dry with moisture content below 8% for optimal adhesion and results.
How long will epoxy last on a table?
Quality table-top epoxy lasts 25-30 years under normal use conditions. UV-stabilized formulations maintain clarity for 15-20 years, while non-UV grades may yellow within 3-5 years in direct sunlight. Proper maintenance and climate control can extend lifespan, with professional refinishing available to restore worn surfaces.
How much will 1 gallon of table top epoxy cover?
One gallon of mixed table-top epoxy covers 12-16 square feet at 1/8 inch thickness. Coverage varies based on wood porosity and surface irregularities. Dense woods like maple require less epoxy than open-grain species. Always add 15-20% extra for waste and touch-ups when calculating project needs.
What is the cost of a wood epoxy table top in 2025?
DIY wood epoxy table tops cost $150-800 in materials, while professional custom tables range $1,500-8,000. Costs depend on wood species, table size, and epoxy quality. Premium hardwoods and UV-stabilized epoxy can increase costs by 50-100%, but provide superior durability and appearance.
Which wood works best for epoxy table tops?
Walnut is the premium choice for epoxy tables, offering rich grain patterns and excellent epoxy compatibility at $8-15 per board foot. Maple provides beautiful results at $4-8 per board foot, while oak offers traditional appeal at $3-6 per board foot. Live-edge slabs create the most dramatic visual impact.
| Key Aspect | Important Details | Benefit |
|---|---|---|
| Durability | 25-30 year lifespan with proper care | Long-term investment value |
| Coverage Rate | 1 gallon covers 12-16 sq ft at 1/8 inch | Accurate project planning |
| DIY Cost | $150-800 in materials | 60-70% savings vs professional |
| Wood Species | Walnut, maple, oak most popular | Variety of price points and aesthetics |
| Maintenance | Annual cleaning, 5-year inspections | Preserves appearance and value |